Installing on Windows
-
Download the Emily installer from the download page
-
Run the installer
emily-installer.exe. You will be presented with the Emily setup wizard.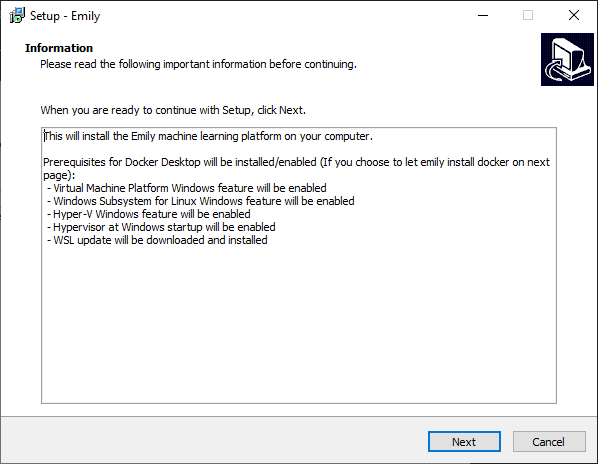
-
Go through the wizard to complete the installation. You will be met by the following screens:
- For
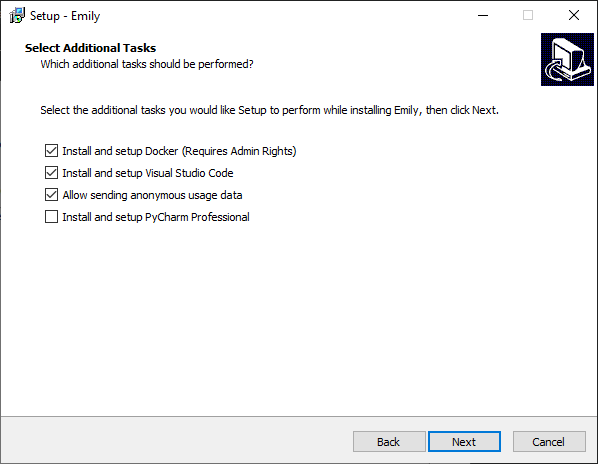
emilyto work, it's important that you have Docker installed. Hence, we highly recommend that you keep these checked off even if you have them installed already. If you do not install them, Emily will ask you to install them later. - By default,
emilywill install Visual Studio Code. However, if you prefer to use PyCharm as your editor, simply enable the installation of PyCharm here. - The Allow sending anonymous usage data box is checked by default. This is a feature that helps us to detect bugs and evaluate the value of new features based on our users' usage patterns. If you do not want to send anonymous usage data, simply uncheck the box.
- During installation, a terminal will pop up installing the selected requirements. During this part of the installation, you will be prompted for admin privileges. The installation of these items (especially Docker) will take some time, so arm yourself with a cup of coffee.
Congratulations! You have successfully installed Emily.
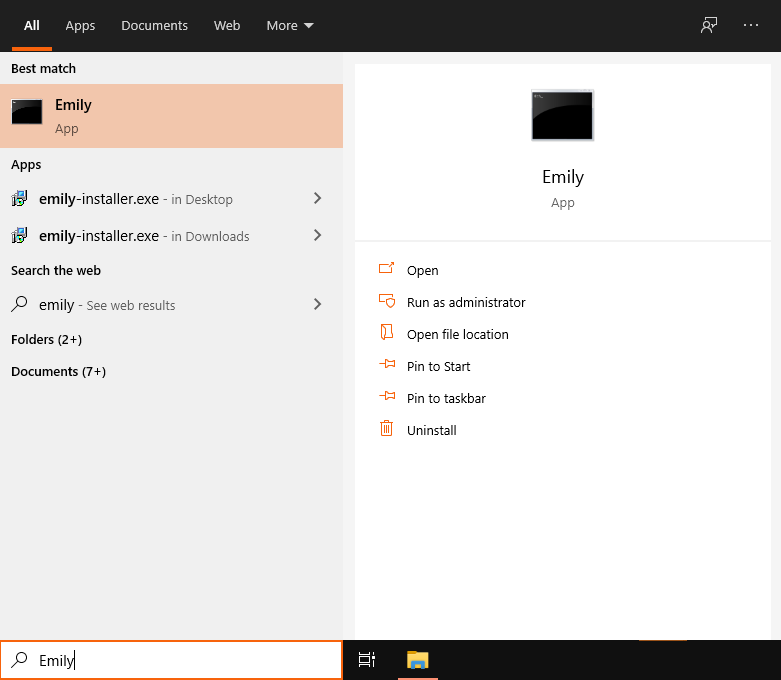
You can find the Emily executable by searching for emily in the Windows Start menu.