Building your first project
Now that Emily is installed and configured on your machine, it is time to create the first project.
Launch a terminal and type emily build.
Emily will then ask you to name your project.
For this guide, we will choose getting-started. After naming the project, the output
of your terminal should resemble the following:
$ emily build√ Emily: Project name:
· getting-startedEmily: An Emily template is a pre-built template containingessential boilerplate code useful in the development of microservices.These templates include relevant endpoints depending onwhich template you choose.? Emily: Which Emily template corresponds to your project?(Use arrow keys, confirm with ENTER) … Default - Minimal project with hello world script> API - Simple project with API set up and readyMachine learning [API, DVC, MLFlow, Pytorch] - Machine learning template with API, Data version control (DVC), MLFlow experiment reporting and pytorchMachine learning API [API, Pytorch] - Machine learning template with API and pytorchMachine learning [gRPC] - Machine learning template with gRPCMachine Learning Reporting - Machine learning reporting template · APIWhen building a project, Emily will let you choose between different project templates and Emily images.
Project templates
A project template is a pre-built selection of software and code snippets that are useful for various use-cases. Emily provides the following project templates:
| Template name | Description |
|---|---|
| Default | Minimal project with hello world script |
| API | Simple project with API set up and ready |
| Machine learning [API, DvC, MLFlow, Pytorch] | Machine learning template with API, data version control (DVC), MLFlow experiment reporting and pytorch |
| Machine learning [API, Pytorch] | Machine learning template with API and pytorch |
| Machine learning [gRPC] | Machine learning template with gRPC |
| Machine learning reporting | Machine learning reporting template |
For the purpose of creating the first project, we will go with the API template. After selecting the template, your terminal output should resemble the following:
$ emily build√ Emily: Project name::
· getting-startedEmily: An Emily template is a pre-built template containing essentialboilerplate code useful in the development of microservices.These templates include relevant endpoints depending onwhich template you choose.? Emily: Which Emily template do you want to use?(Use arrow keys, confirm with ENTER) … Default - Minimal project with hello world script> API - Simple project with API set up and readyMachine learning [API, DVC, MLFlow, Pytorch] - Machine learning template with API, Data version control (DVC), MLFlow experiment reporting and pytorchMachine learning API [API, Pytorch] - Machine learning template with API and pytorchMachine learning [gRPC] - Machine learning template with gRPCMachine Learning Reporting - Machine learning reporting template · APIEmily: An Emily image is a pre-built docker image containingessential packages that are useful in the development of microservices.These images include relevant packages depending on whichtype of project you are developing.? Emily: Which Emily image fits your use case the best?(Use arrow keys, confirm with ENTER) … > Base (contains just enough to run an API)Slim (contains essential Machine Learning packages)Computer VisionNatural Language Processing · BaseEmily images
An Emily image is a pre-built Docker image configured by the Emily team. Docker images are self-contained bundles of packages of software that resembles a snapshot of a virtual machine. Emily provides a wide selection of images based on four themes:
| Image name | Theme | Description |
|---|---|---|
base | API access | A basic unix environment with Python 3 and additional libraries for setting up web-based API services. |
slim | Machine learning | Builds upon base by providing packages for machine learning and data science. |
cv | Computer vision | Builds upon slim with additional packages for image processing and computer vision. |
nlp | Natural Language Processing | Builds upon slim with additional packages for natural language processing. |
The images connected to the above use-cases are bundled in different variants with CUDA, PyTorch, or Tensorflow. For more details, please refer to the build CLI documentation.
For our first project, we will go with as little as possible and choose the 'base' image. After selecting the Emily image, your terminal should resemble the following:
The next step is selecting the editor we would like to interact with.
$ emily build√ Emily: Project name::
· getting-startedEmily: An Emily template is a pre-built template containingessential boilerplate code useful in the development of microservices.These templates include relevant endpoints depending onwhich template you choose.? Emily: Which Emily template do you want to use?(Use arrow keys, confirm with ENTER) … Default - Minimal project with hello world script> API - Simple project with API set up and readyMachine learning [API, DVC, MLFlow, Pytorch] - Machine learning template with API, Data version control (DVC), MLFlow experiment reporting and pytorchMachine learning API [API, Pytorch] - Machine learning template with API and pytorchMachine learning [gRPC] - Machine learning template with gRPCMachine Learning Reporting - Machine learning reporting template · APIEmily: An Emily image is a pre-built docker image containingessential packages that are useful in the development of microservices.These images include relevant packages depending on whichtype of project you are developing.? Emily: Which Emily image fits your use case the best?(Use arrow keys, confirm with ENTER) … > Base (contains just enough to run an API)Slim (contains essential Machine Learning packages)Computer VisionNatural Language Processing · BaseEmily: Which editor do you want to use?? Emily: Which editor do you want to use?(Use arrow keys, confirm with ENTER) … > Visual Studio CodePyCharmJupyter NotebookJupyter Lab · Visual Studio CodeCode editor
Emily supports the following code editors:
- Visual Studio Code
- PyCharm
- Jupyter Notebook
- Jupyter Lab
For this tutorial, we'll be using Visual Studio Code, but feel free to use your preferred editor instead. If you don't have VS Code installed already, you can easily install it with Emily:
$ emily doctor--fix vscodeOnce you have selected the editor in the terminal, Emily is busy setting up the Docker environment which we wil work in. If this is the first time that you are launching an Emily project, grab a cup of coffee while Emily is retrieving the necessary packages.
Emily: Starting Docker container... (this may take a while on firststartup)Creating network "getting-started-iytfkn-network" with driver "bridge"Building "getting-started-iytfkn
...DOCKER OUTPUT....
Creating getting-started-iytfkn ... doneWaiting for container to start.Opening project <project> located at <path>...? Emily: You can continue working now. Once finished, you can shutdown the project from here. You can also detach the terminalfrom the project.(Use arrow keys, confirm with ENTER) … > DetachShut down · DetachPorts
By default, Emily will try to open port 4242 on your local machine. If that is not the case, Emily will ask you to define a new port. In this example, we will choose port 8080:
Emily: The requested port (4242) is not open.? Emily: Do you want to change the port? (currently 4242)(y/N) · Yes√ Emily: Please enter a new port:
· 8080Emily: Starting Docker container... (this may take a while on firststartup)Opening the project in VS Code
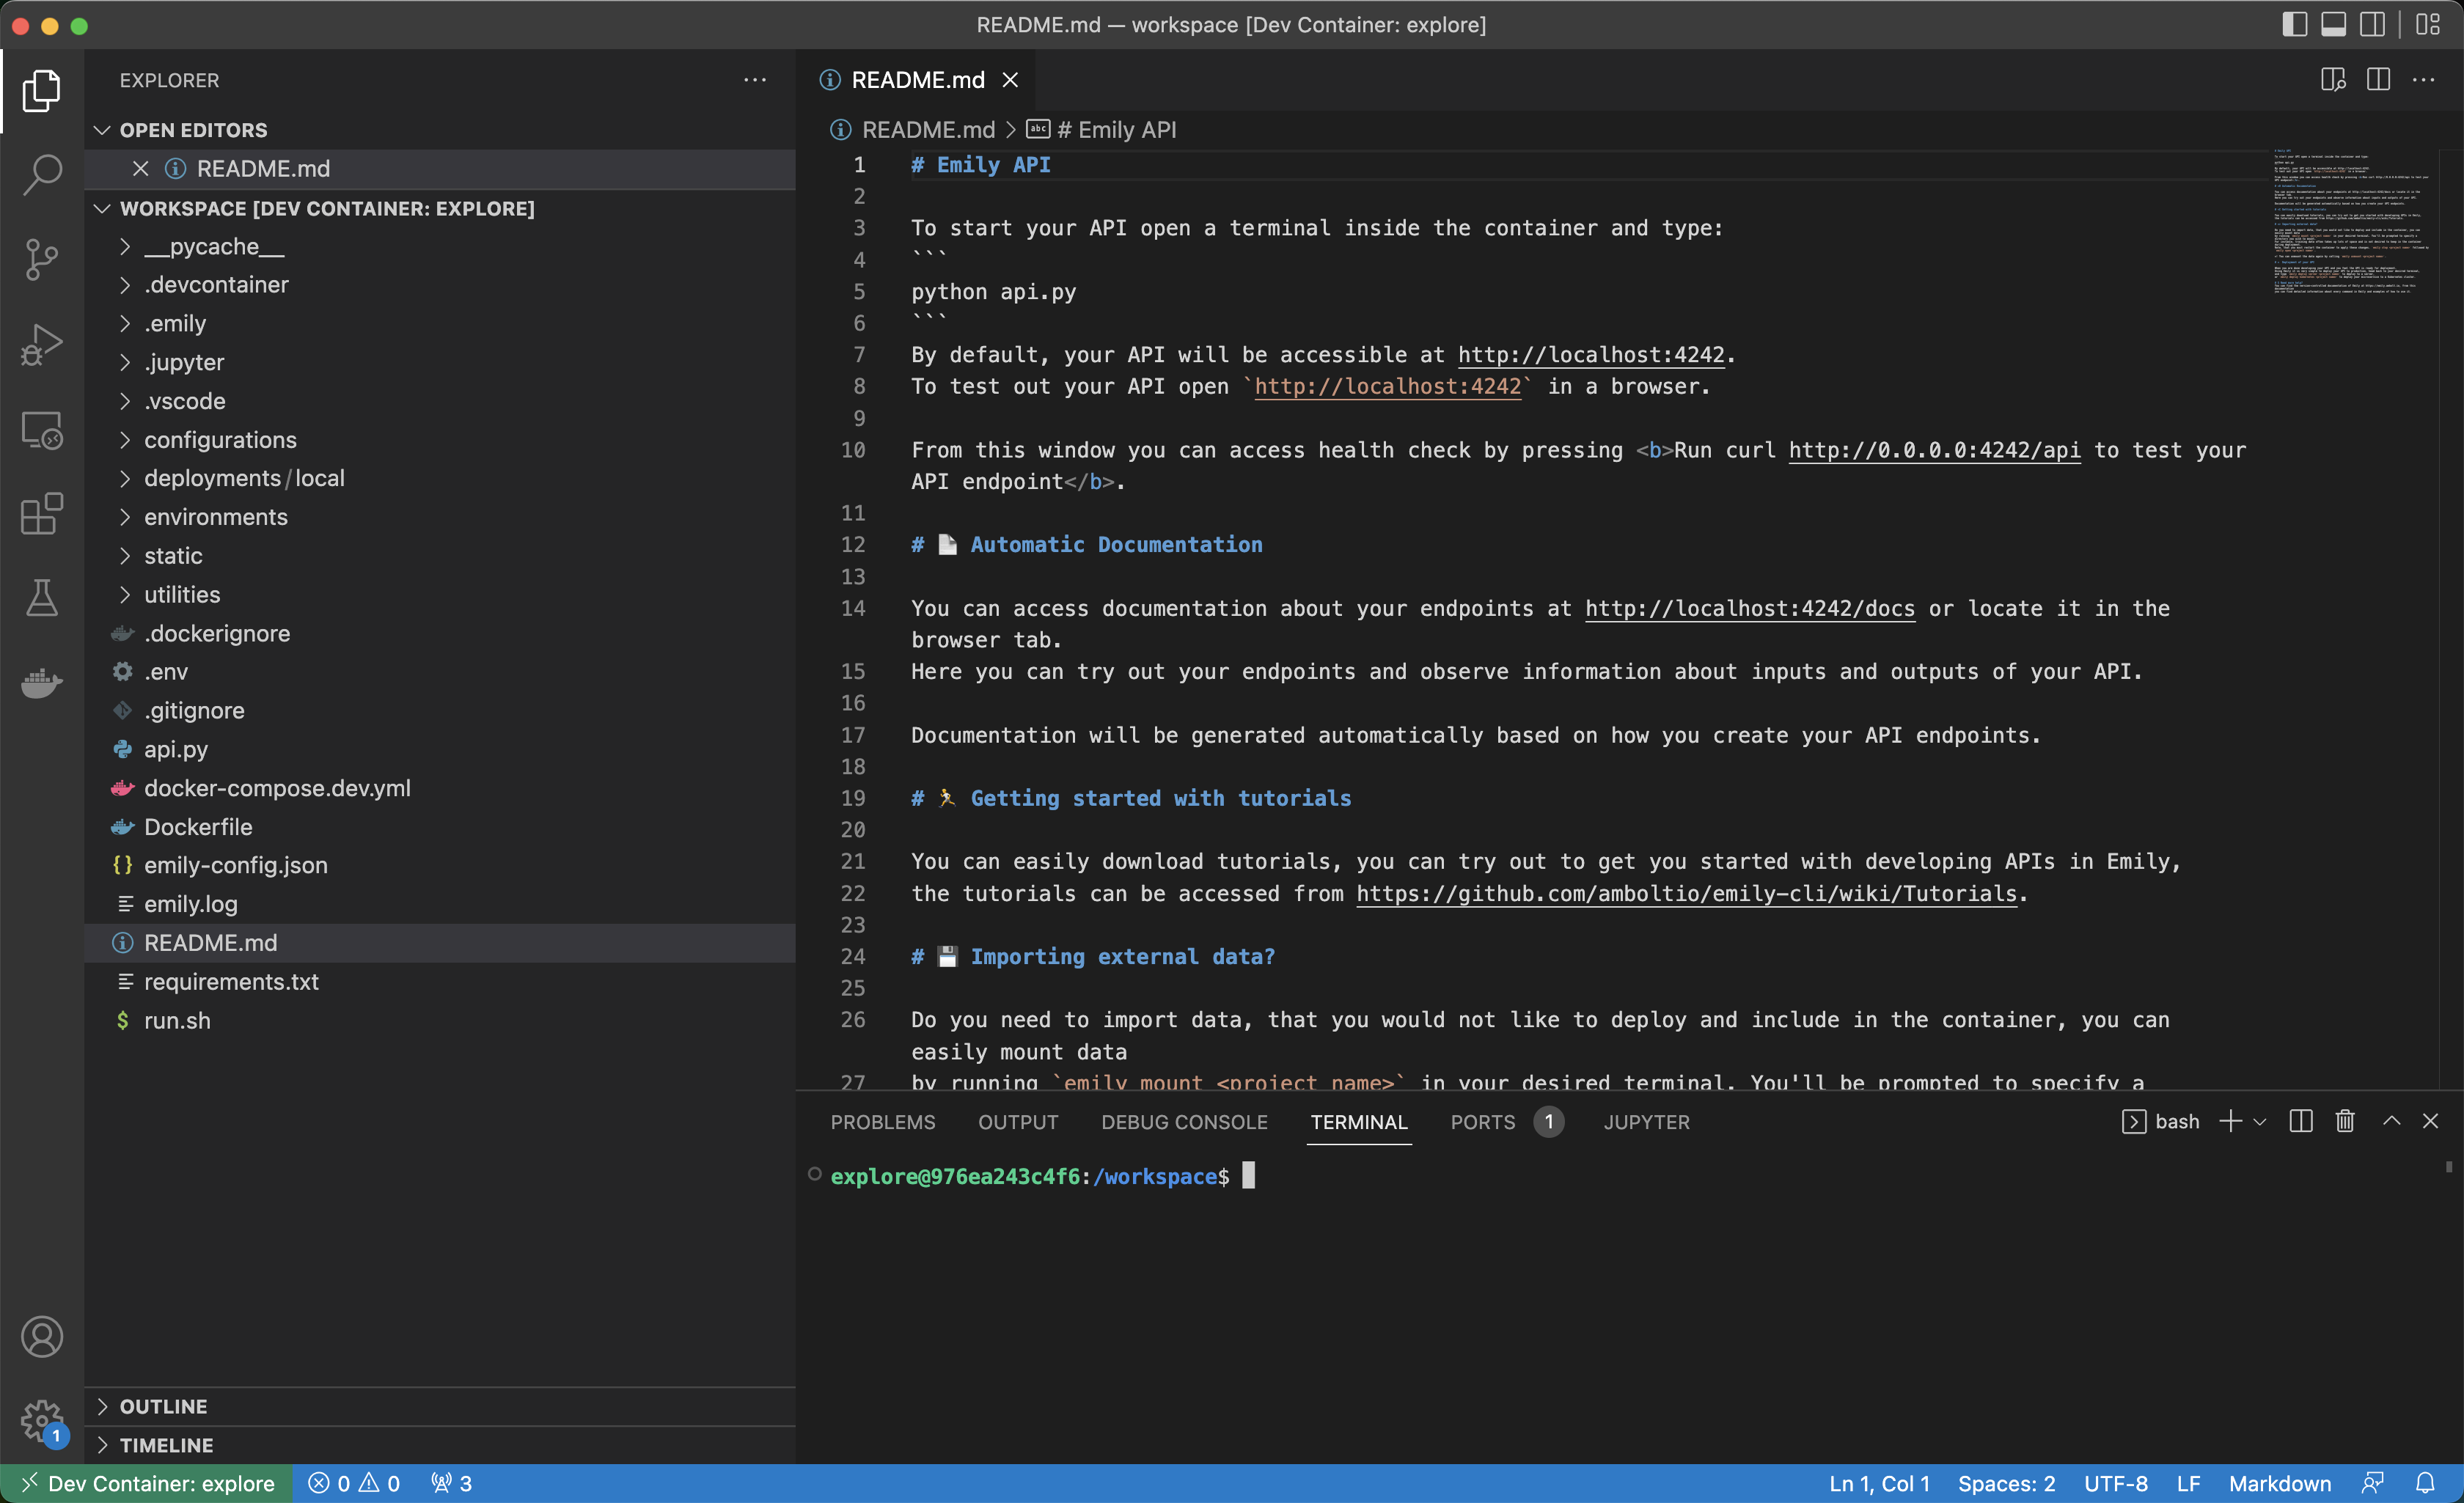
After starting the Docker container, Emily will automatically open and mount VS Code onto the container.
If you have made it so far - congratulations! In the next section of the guide, we will explore the project template and investigate the built-in capabilities.